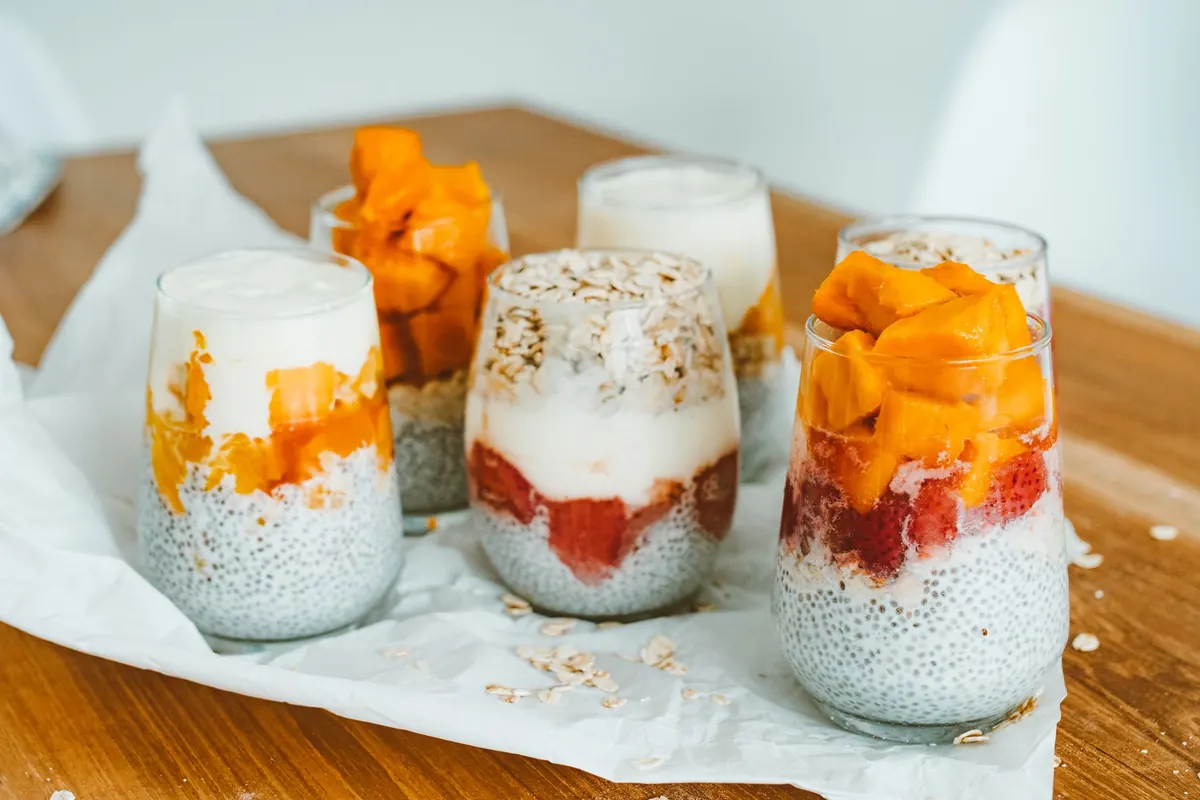
Beginner's Guide to Layering Pudding Desserts in Glass Cups
A layered pudding cup looks effortless in a bakery case and turns into a muddy swirl when you try it at home. The difference is rarely the recipe. It is the order you add things, how cold they are, and how much control you have over the spoon. Know a few small rules, though, and you can build a clean, stable parfait in a plain tumbler using supermarket ingredients. It will hold its lines for hours.
Start With a Straight-Sided Glass
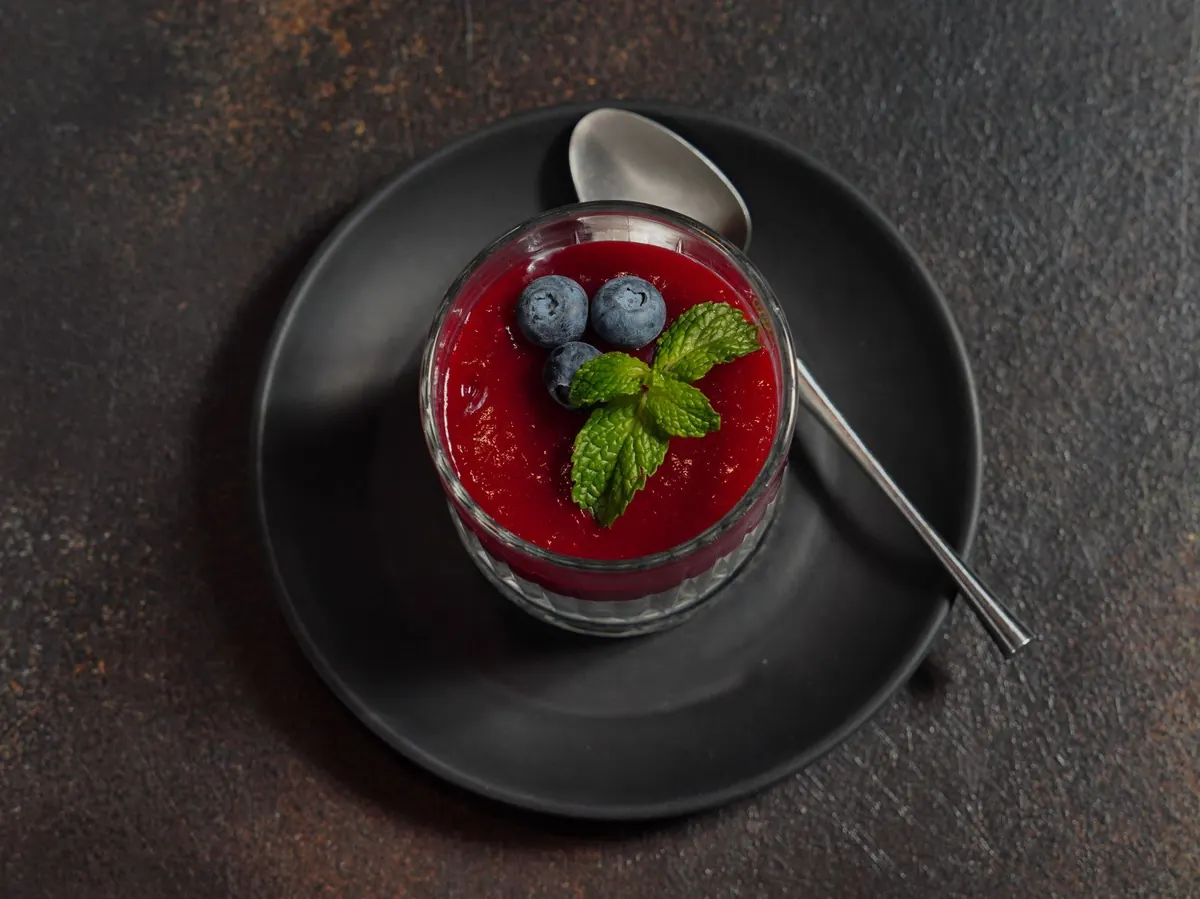
Glass shape matters more than most people expect. Curved bowls and wine glasses photograph well, but every sweep of the curve changes the width, so a pudding layer ends up thick at the outer edge and thin in the middle. Straight-sided rocks glasses, tumblers, or six- to eight-ounce jars give you a level floor and parallel walls, which is what keeps each line flat.
Choose smooth, clear glass. Heavy faceting hides the layers and makes crumbs look like dust. A glass roughly three to four inches tall is the sweet spot: enough room for three or four distinct layers, short enough that a spoon can reach the bottom without wrecking the top. Put the glasses in the fridge while you prep so nothing starts melting on contact.
Pick Four Components That Hold Their Shape
Every good layered cup fills four roles. Keep the list short and the flavours compatible.
- Something soft: pudding, custard, mousse, or curd. It should mound on a spoon, not pour off it.
- Something creamy: whipped cream, whipped mascarpone, or a lightly sweetened cream cheese blend. Stable enough to pipe.
- Something crunchy: toasted graham, digestive, or shortbread crumbs, granola, or an oat crumble.
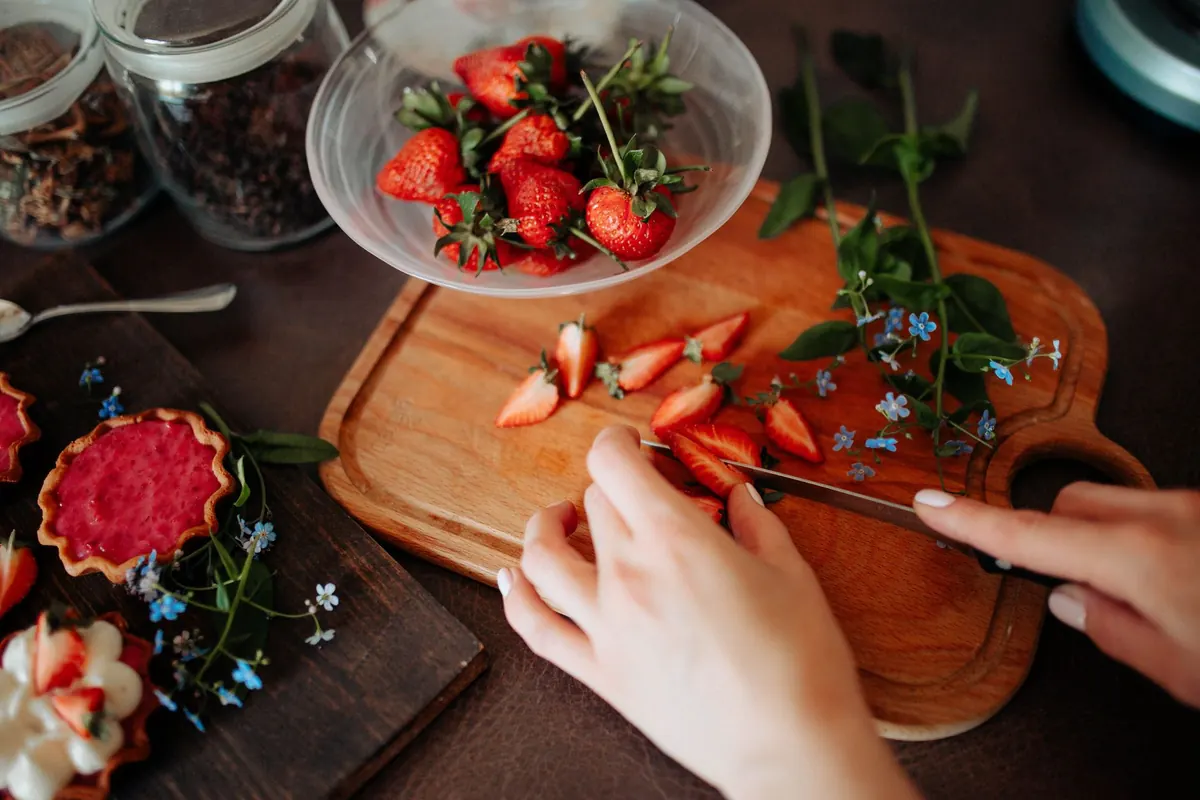
- Something bright: berries, diced mango, peaches, cherries, or well-drained canned fruit. Pat everything dry.
Simple pairings beat clever ones. Chocolate pudding with raspberries and cocoa crumbs. Vanilla with strawberries and shortbread. Butterscotch with graham crumbs and banana added at the last minute, since sliced banana browns quickly. Lemon curd with blueberries and oats. Two or three flavours is plenty; four components already fill a small glass.
The Layer Order That Actually Works
Wet and heavy goes low. Crunchy things need a buffer, because anything sitting directly under a wet layer will soften within a couple of hours.
- Pipe or spoon in about half an inch of pudding. This anchors everything and gives you a clean base line.
- Add fruit next, pressing it gently into the pudding so pieces do not roll or float.
- Scatter a thin layer of crumble, just a couple of tablespoons. It sits on fruit rather than cream.
- Repeat pudding if you want more height, then finish with cream.
- Top with fruit and a final pinch of crumble right before serving, not before chilling.
Some people prefer crumble on the bottom, which is fine. Just know it will soften into the pudding, and serve those cups within a few hours.
Two Tools and One Steady Motion
The single biggest upgrade to your layers is a piping bag. A zip-top bag with a corner snipped off works perfectly. Piping places pudding and cream exactly where you want them and spreads them into a flat, even disc without dragging the layer underneath.
Hold the bag an inch above the previous layer and let the filling fall while you spiral from the centre outward. Do not press the tip into the layer below. Once it is in, tap the glass once on the counter to settle everything, then flatten the surface by swirling the glass gently or pressing it with the back of a small spoon.
Wipe as you go. A damp paper towel wrapped around a chopstick or the handle of a spoon cleans smears inside the glass far more easily than fixing them at the end.
Thickness, Ratio, and Temperature
Aim for each layer to be at least half an inch thick. Anything thinner than a quarter inch blurs into its neighbours and the cup loses its definition. Three or four layers per glass reads as intentional; six looks busy.
A reliable ratio is roughly 40 percent pudding, 20 percent cream, 20 percent fruit, and 20 percent crumble. Keep cream the smallest share or the dessert slides toward being a sundae. Cold matters as much as proportion: chill puddings until fully set, leave whipped cream in the fridge until the moment it goes in, and build on a cold base. Warm pudding melts the cream above it and everything drifts.
Make It Ahead and Fix What Goes Wrong
Build the cups two to twelve hours ahead for the best texture, but hold back the final crumble and fruit garnish. Covered in the fridge, a finished cup without its topping will keep for about eight hours. Add the crunchy top layer just before the cups go to the table.
- Smeared walls: pipe instead of spooning, and wipe after each layer.
- Sinking layers: the pudding is too loose. Thicken it with a little cornstarch next time, or use less liquid.
- Soggy crumble: it was not toasted, or it sat under something wet too long. Toast it until fragrant, cool it completely, and add it near serving time.
- Collapsing cream: underwhipped or warm. Whip to medium peaks, chill the bowl and beaters, and keep the bag cold.
- Bleeding fruit: pat berries dry, or toss them with a spoonful of sugar, let them drain, and use the fruit without the syrup.
Your First Cup, Start to Finish
Pick one pairing, chill every component, and set out two glasses rather than twelve. Pipe half an inch of pudding into each. Press in a few berries. Spoon over a thin crumble layer. Pipe cream to just below the rim. Chill for two hours, then finish with fruit and a pinch of crumble.
Taste one before you commit to a batch. Adjust the sweetness of the cream, the tartness of the fruit, or the thickness of the pudding, then scale up. Pull the cups from the fridge about ten minutes before serving so the pudding softens slightly at the edges, and hand everyone a small spoon. Long-handled iced tea spoons reach the bottom of a tall glass without knocking over the layers you just built.
Photo: ROMAN ODINTSOV / Pexels